
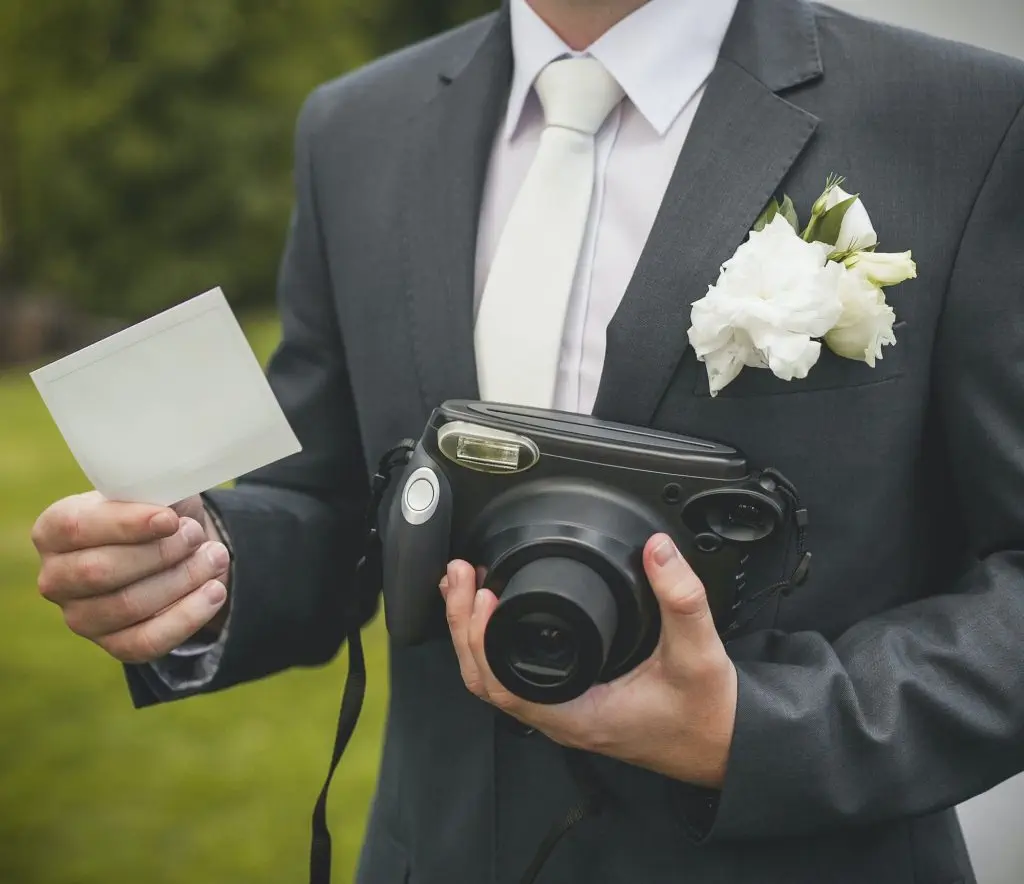
For wedding photographers, there are many different things that you need to know and keep in mind. From how to take pictures of the bride and groom, the venue, and even the guests—all of these things can be difficult for a photographer who is new at this business. That’s why it’s important for you to have a checklist of what needs to be done before the wedding day arrives. This checklist will make sure that everything goes smoothly!
Book a venue for a trial wedding shoot, at least 1 month in advance.
One of the most important things to do when planning your wedding is to book a venue for a trial wedding shoot, at least 1 month in advance. It’s very easy to forget about this step, but it is essential! This allows you to get familiar with the place and get some shots before the big day arrives.
Dress up like it’s a real wedding, and take your own photos.
To prepare for the photo shoot, you should dress up like it’s a real wedding. This will help you look professional and take photos with the right atmosphere. You can also use this as an opportunity to practice taking photos of the venue, dress/shoes/accessories etc., as well as family members and friends who are going to be involved in the real wedding.
The photographer should also make sure that they have everything necessary on hand for shooting: lenses, camera bodies (both digital SLRs or mirrorless models) batteries flash units tripods
Check the lighting.
- Check the lighting in the venue. Is there enough light? Is it too bright or too dark?
- Make sure to check the lighting during the ceremony. Do you need to use your flash, or do you have enough natural light to shoot with?
- When photographing portraits, make sure you can see and capture details of their faces in all types of light conditions: indoors, outdoors, evening and afternoon.
- Make sure that when shooting speeches at a wedding reception that guests can see clearly and are not being blinded by flashes going off during speeches.
Photograph the ceremony.
- Use a wide-angle lens to capture more of the ceremony- wedding photography poses checklist.
- Use a flash to light up your subject.
- Use a tripod to stabilize your camera and keep it from shaking. This will make for much sharper photos!
- Use a remote shutter release so that you’re not touching the camera when taking pictures, which can cause blurriness. If you don’t have one, try using the self-timer function on your phone’s camera app to take some shots yourself while you’re in front of everyone else in their seats at the ceremony (then send them over after).
- If using an old DSLR or mirrorless camera with no built-in image stabilization technology, invest in some nice lenses that help reduce motion blur caused by shaky hands! We recommend prime lenses because they are typically lighter than comparable zooms and often produce better quality images than cheaper zoom options available today (even if they cost more upfront).
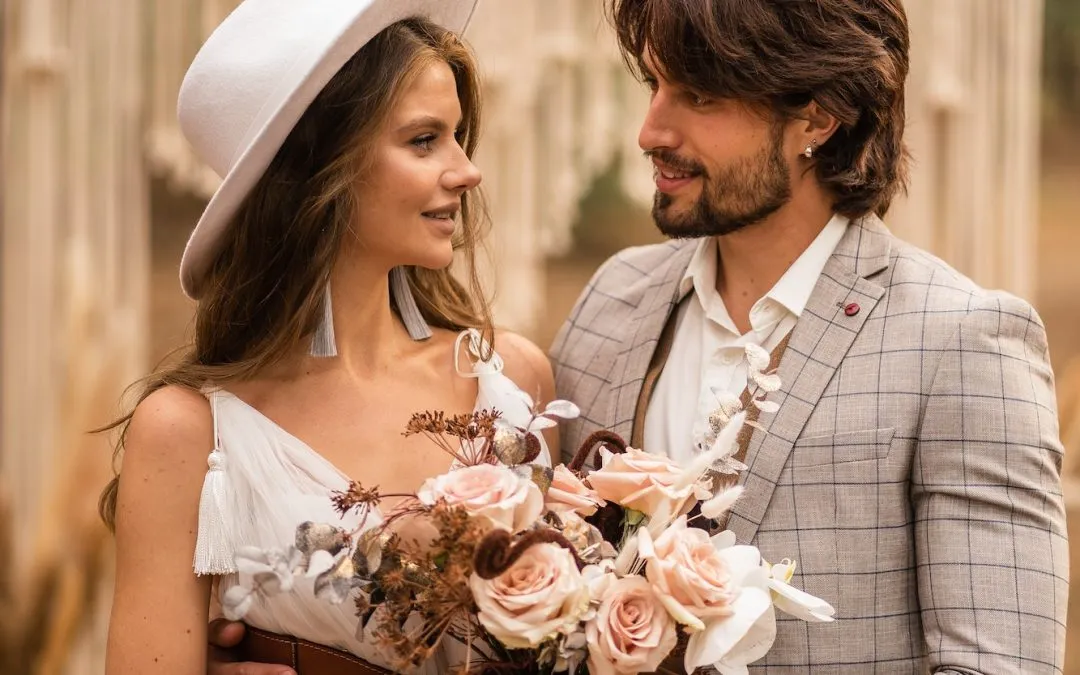
Photograph the newlyweds’ portraits.
Before you start photographing your newlyweds, it’s important to get a few things right. Firstly, you need to find the right light and angle. Then, make sure that your background is simple and clean. Once you’ve done that, it’s time for the poses!
You want to try out some different poses until you find one that works best for both of them (so maybe don’t start off with “The Kiss”). It also helps if they’re wearing clothes that fit them well because otherwise it might be awkward for everyone around them. Be sure to take plenty of photos so everyone has plenty of options when looking through their wedding album later on!
Photograph the guests.
This is your opportunity to photograph the guests in groups, individually and with the newlyweds.
Groups can be photographed before or after the ceremony. I prefer to photograph them after, but there is no reason why you cannot get those people who really want their photos taken from the start (family members and close friends). Combining this group portrait with a couple of individual shots works well- wedding photography poses checklist.
When it comes to photographing individuals, you should ensure that each person has been identified in advance and has had time to prepare for their photo shoot. Give them a few minutes’ notice that you’re about to take some pictures – then do so politely!
Photograph the reception and speeches.

After you’ve taken photos of the bride and groom, guests and ceremony, it’s time to move on to the reception. There are two parts of a wedding reception: the food and drink, and the dancing. You’ll have some room for creativity here—what makes sense? Are there themes or colors that you can work with? If your photographer is good at posing people (or if you’re good at it yourself), try posing them in different ways around their tables (if they’re sitting down). Also, try getting close-up shots of their plates/glasses/cups if there’s something special about them; take pictures of them drinking from their glasses; try taking pictures as they eat different foods or taste different drinks.
The dancing part is more straightforward—it doesn’t really matter how creative or elaborate your photos are here because people will be moving around so much that everything will look blurry anyway! Just make sure not to miss any moments like when couples kiss during slow songs or when everyone dances together during fast songs.
This is a good starting point for beginner photographers to practice before actually photographing a wedding.
If you’re a beginner photographer and want to practice your skills, photographing a wedding is the best way to do it. It gives you an opportunity to learn what your capabilities are, and also gives you feedback from your client on how well-received your work was. In addition, creating a checklist of tasks will help get you organized for the day of the wedding.
You can give yourself some practice time by making sure any equipment needs are met (such as renting lenses or buying filters) before heading out on location for that initial photoshoot with friends or family members who might be willing models for some shots. You can also make sure that props are ready in case they need them during their shoot as well as figuring out where light sources will be coming from so they can prepare accordingly when it comes time for actual shoots at weddings themselves!
In the end, you want to make sure that the bride and groom are happy with the photos and that they can be used for their wedding album. If your clients are happy, then you will be happy too!